
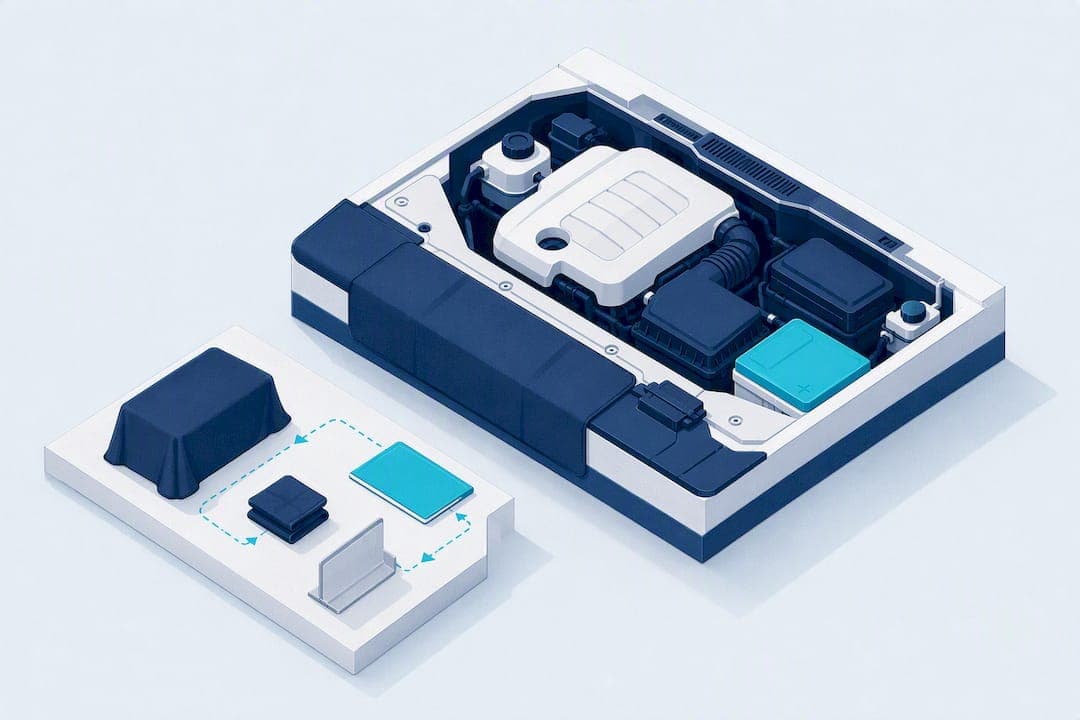
Yes, cleaning your engine bay is safe when you follow the right method: use low-pressure water only, protect the alternator, fuse box, and any exposed connectors, apply a water-based degreaser instead of harsh solvents, and dry every surface before you start the car. Skip the pressure washer and never work on a hot engine. Below is the exact sequence that keeps your electronics dry and your paint intact.
TL;DR:
- Using low-pressure water and proper covering of electrical components is crucial to prevent moisture-induced damage during engine bay cleaning.
- Wait at least 30 minutes after driving and avoid hot engines to reduce the risk of cracking or warping parts from temperature shocks.
- Avoid pressure washers as they force moisture past seals and sensors, leading to potential corrosion and electrical faults over time.
- Dry every surface thoroughly with microfiber towels and compressed air to prevent residual moisture that can cause corrosion weeks later.
- Reserve professional cleaning for bays with heavy oil buildup, damaged wiring, or existing leaks to avoid masking issues that require mechanical repairs.
Table of Contents
- Safety Preparation Before You Touch the Engine Bay
- Step-by-Step Engine Bay Cleaning Process
- Which Tools and Cleaners Are Actually Safe to Use
- How to Dry an Engine Bay Completely and Check Your Work
- Common Engine Bay Cleaning Mistakes and How to Fix Them
- When to Skip DIY and Call a Professional
- What Mobile Detail AI Sees From the Professional Side
- Why "Just Hose It Off" Is Bad Advice, and So Is "Never Touch It"
- Prefer to Let a Vetted Pro Handle It?
- Sources
- FAQ
Safety Preparation Before You Touch the Engine Bay
Most engine bay disasters happen before a single drop of water hits the block, during the prep stage that impatient DIYers skip. Get this part right and the rest of the job is almost foolproof.
Start with temperature. A hot engine block and cold water don't mix. Metal and plastic components can crack or warp from the sudden temperature swing, so wait at least 30 to 60 minutes after driving before you spray anything. On a scorching afternoon, give it closer to 90 minutes.
Next, deal with the battery. Disconnecting the negative terminal is the recommended step for a thorough clean, since it eliminates any risk of a short while you're spraying near terminals and connectors. If you'd rather skip the disconnect for a quick surface wipe, at minimum cover the terminals themselves with a plastic bag secured by a rubber band.
Then cover the parts that hate water:
- Alternator, wrapped snugly in a plastic bag
- Air intake opening, sealed with a bag or dedicated cap
- Fuse box and any exposed electrical connectors
- Battery terminals, even if you've disconnected the negative lead
- Oil dipstick and any open filler caps
Work outdoors, in the shade, on a dry, calm day. Direct sun bakes degreaser onto surfaces before you can rinse it, and wind blows overspray onto your paint. Wear nitrile gloves and safety glasses; degreasers are formulated to strip grease, and that includes the oils in your skin.
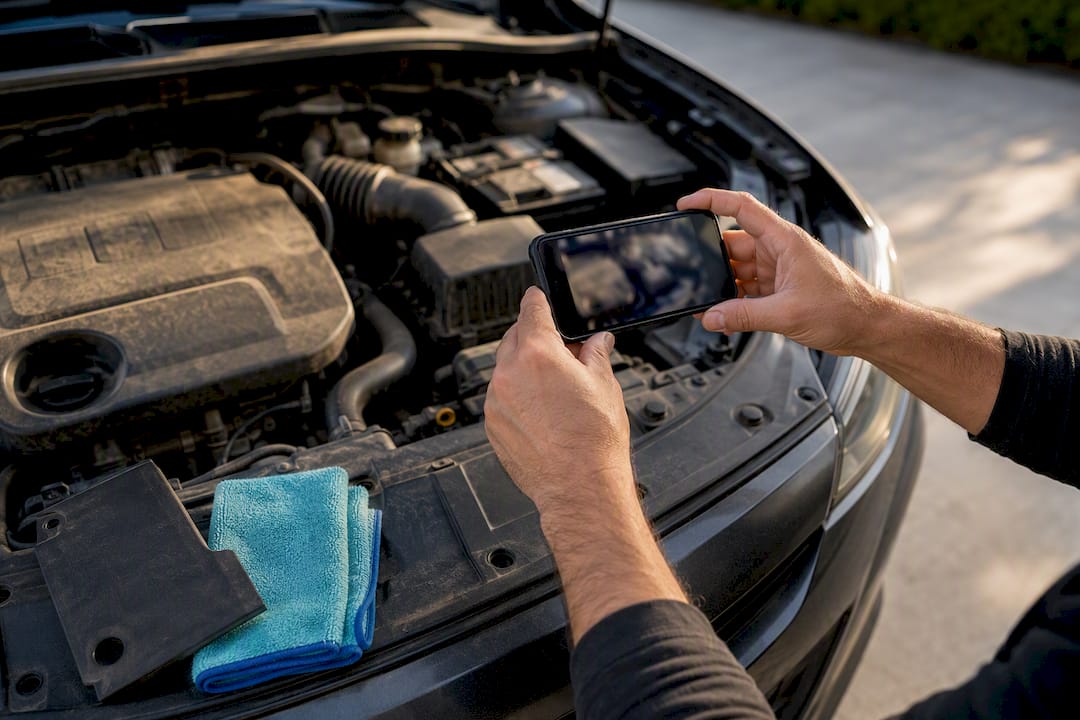
Pro Tip: Take a photo of your engine bay before you cover anything. It gives you a map for reconnecting hoses, clips, and covers exactly where they belong, and it's a fast way to prove nothing shifted if you ever need to check your work later.
Step-by-Step Engine Bay Cleaning Process
Once the bay is prepped, the actual wash follows a sequence that professional detailers repeat almost verbatim: pre-rinse, degrease, agitate, rinse. Skipping steps or reordering them is where most home jobs go sideways.
- Pre-rinse with low-pressure water. A garden hose with an adjustable spray nozzle knocks loose dust, leaves, and surface grime before the degreaser goes on. This matters more than it sounds. Degreaser working on a layer of loose dirt just turns into mud instead of cutting into baked-on grease.
- Apply degreaser in sections. Working zone by zone, such as the firewall, then the valve cover, then each side of the bay, keeps the product from drying before you can agitate and rinse it. Let it sit: 2 to 3 minutes for light dust and road film, 5 minutes for moderate grease buildup, and up to 10 minutes for heavy, years-old grime on a high-mileage engine.
- Agitate with the right brush for each area. A soft detailing brush handles plastic covers and painted surfaces without scratching. A stiffer nylon brush tackles caked grease on the block or exhaust manifold shielding. Reserve a dedicated brush for anything near electrical connectors and use light pressure only.
- Rinse with low-pressure water again. Angle your hose nozzle downward and away from the areas you've covered, and keep the stream soft rather than jet-like. This is where cleaning your engine bay with water becomes genuinely worry-free instead of risky.
Two things separate a clean job from a damaged one at this stage. First, never let degreaser sit long enough to dry into a white haze. If it starts drying before you rinse, spray it down early rather than waiting for your planned dwell time. Second, keep water off anything still wrapped in plastic. It sounds obvious, but overspray drift is how water finds its way past a taped seam and into a connector anyway.
Which Tools and Cleaners Are Actually Safe to Use
The tool list for a safe engine bay job is short, and every item on it earns its place:
- Garden hose with an adjustable spray nozzle
- Detailing brushes in two or three sizes and stiffnesses
- Microfiber towels for wiping and final drying
- Compressed air can or a leaf blower for crevices
- Plastic bags and rubber bands for covering sensitive components
For cleaner, water-based degreasers are the safer choice for most engines compared to solvent-heavy formulas, which can dry out rubber hoses and strip factory coatings over repeated use. Dilution depends on the product, but a common starting ratio is around 4:1 water to concentrate for light maintenance cleaning, moving toward a stronger mix or a second application for heavy grease. Always check the label on your specific bottle since concentrations vary by brand.
Once everything is rinsed and dry, a water-based plastic and rubber protectant brings faded covers and hoses back to life and helps resist UV cracking. Keep it off drive belts, pulleys, and any friction surface, since dressing there can cause slipping or squealing.
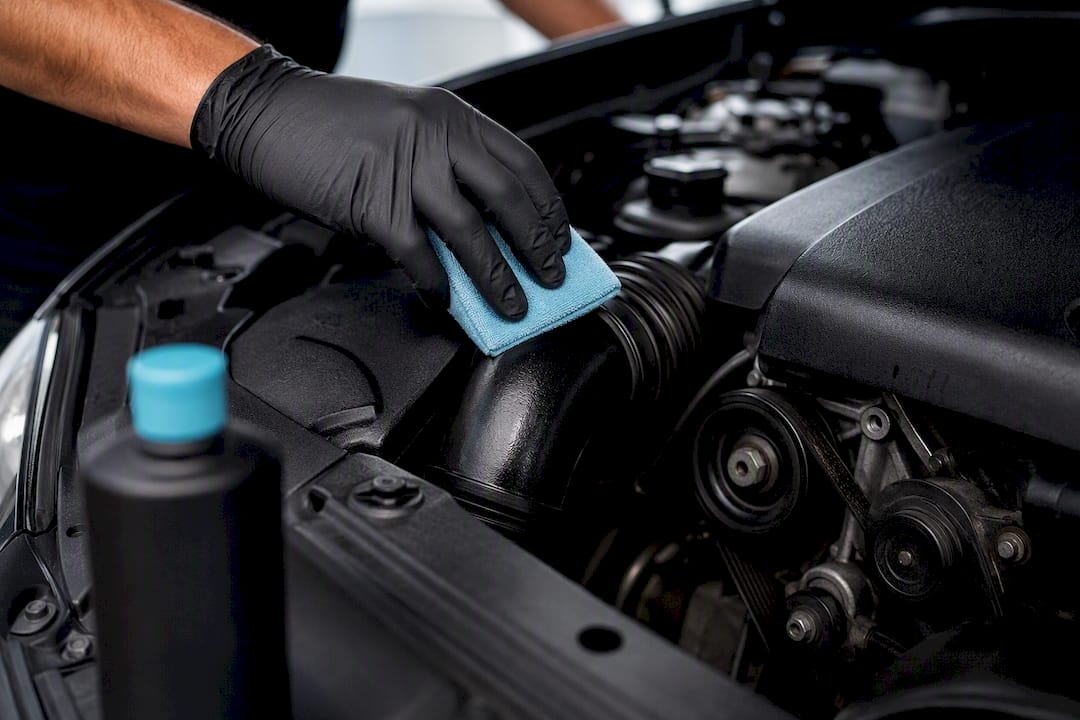
What to leave in the garage: household glass cleaner, dish soap in high concentrations, and anything ammonia-based, all of which can degrade rubber and plastic over time. And skip the pressure washer entirely. That single tool causes more engine bay damage than every other mistake on this list combined, because high-pressure water forces moisture past weather seals on connectors and sensors, leading to corrosion and dashboard warning lights days or weeks later.
How to Dry an Engine Bay Completely and Check Your Work
Drying is the step most DIYers rush, and it's also the one that determines whether your afternoon of cleaning was worth it. Trapped moisture doesn't announce itself immediately. It shows up as corrosion or an intermittent electrical fault weeks down the road.
- Wipe every flat and accessible surface with a dry microfiber towel, working from the top of the bay downward.
- Use a compressed air can or leaf blower to chase water out of tight spots: connector housings, bracket seams, and the gaps around the battery tray.
- Remove your plastic covers only once the surrounding area is fully dry, not before.
- Reconnect the battery, then start the engine and let it idle for several minutes. The heat evaporates any lingering moisture, and running the engine briefly is standard practice among professionals for exactly this reason.
- Watch the dashboard for warning lights and listen for anything unusual: rough idle, a new rattle, or a belt squeal.
Pro Tip: If you have access to one, an air compressor set to a moderate pressure clears connector housings far more thoroughly than a leaf blower. It's the trick professional detailers use to chase water out of the crevices that towels can't reach.
Pick a low-humidity day for this whole process if you can. Damp air slows every stage of drying and gives moisture more time to migrate somewhere it shouldn't be.
Common Engine Bay Cleaning Mistakes and How to Fix Them
Most of the horror stories about engine bay cleaning trace back to one of a handful of repeatable mistakes.
- Using a pressure washer. It's the single most common cause of post-wash electrical trouble, since forced-in moisture can trigger faults that surface days later rather than immediately.
- Letting degreaser dry into a white residue. Re-wet the area with water, agitate again with a soft brush, and rinse thoroughly before it's allowed to dry a second time.
- Skipping the drying step. If a check-engine light appears after a wash, dry every visible connector by hand, check obvious fuses, and leave the battery disconnected until you're sure the bay is fully dry.
- Reconnecting the battery too soon. Give the bay extra time if anything still looks damp, even a light sheen counts.
If a fault persists after you've dried everything and checked the basics, that's your signal to stop troubleshooting and get a mechanic to look at it.
When to Skip DIY and Call a Professional
Some engine bays are not weekend projects, and recognizing that early saves you from turning a cosmetic job into a mechanical one.
- Heavy, years-old oil soak coating the block and surrounding components
- Any active fluid leak, whether it's oil, coolant, or power steering fluid
- Wiring that looks cracked, chewed, or exposed
- New electrical warnings that appear after even a light, careful wash
In any of these cases, have a professional inspect the bay before cleaning it, since scrubbing over a leak or damaged wiring can mask a problem that needs a real fix, not a cosmetic one. A trained detailer can run proper diagnostics, use controlled wet cleaning methods, and check your electronics before and after the wash. When you book a pro, mention any recent symptoms (a warning light, an odd smell, a leak you've noticed) and point out the priority areas so they know exactly what to focus on.
What Mobile Detail AI Sees From the Professional Side
Detailers using the Mobiledetail platform treat engine bay work the same way this guide does: drying and electrical protection first, appearance second. The platform's CRM gives service providers visual scheduling and route optimization, along with service history tracking, so a detailer arriving at your vehicle already knows what was done last time and what to double check. For readers preparing a car for a show, the vintage car event checklist from Butter Classics covers the kind of pre-event detailing planning that pairs well with a professional engine bay pass. The bigger point holds regardless of who does the work: a clean bay that still starts, idles, and drives normally afterward is the only kind of clean that counts.
Why "Just Hose It Off" Is Bad Advice, and So Is "Never Touch It"
The internet tends to split into two extremes on this topic: people who blast their engine with a pressure washer like it's a driveway, and people who insist you should never let water near an engine at all. Both are wrong, and the research backs a middle path that most casual advice skips entirely.
The real risk isn't water. It's uncontrolled water, at high pressure, hitting a connector that was never sealed to handle that kind of force. A garden hose on a gentle setting, applied by someone who took ten minutes to bag the alternator and fuse box first, is a fundamentally different activity than a pressure washer wand pointed at a wiring harness.
If there's one habit worth fixing, it's the rush to finish. Drying gets fifteen seconds of attention when it deserves five minutes, and that's where slow corrosion and mystery electrical faults actually come from. Prioritize prep and drying over how aggressively you scrub, and you'll get a genuinely clean bay without the follow-up trip to a mechanic.
— Mobile
Prefer to Let a Vetted Pro Handle It?
Some engines are worth the DIY afternoon. Others, especially ones with heavy oil buildup, unfamiliar wiring, or a check-engine light already lit, are better handed to someone who does this for a living. The platform connects you with vetted, trusted detailers who know how to protect an alternator, dry a connector properly, and spot a fluid leak before it becomes a bigger repair bill.

Booking takes a few minutes: describe your vehicle, note any symptoms like recent warning lights or visible leaks, and flag your priority areas so the detailer arrives prepared instead of guessing. You may receive updates on the service and a record added to your vehicle's history for next time. If a pressure washer scare or a stubborn oil-soaked bay has you second-guessing the DIY route, get a quote from a vetted detailer near you and skip the risk entirely.
Sources
- How to Clean Your Car’s Engine Bay — Motul
- How to Clean an Engine Bay Safely — Car Care Total
- How to Clean Your Car Engine Bay — Chemical Guys
FAQ
How Do I Safely Clean My Engine Bay?
Let the engine cool for 30 to 60 minutes, cover the alternator, fuse box, and exposed connectors, then pre-rinse, apply a water-based degreaser, agitate with a brush, rinse with low-pressure water, and dry every surface completely before restarting the car.
Is It Okay to Clean My Engine Bay With Water?
Yes, as long as it's low-pressure water from a garden hose rather than a pressure washer, and you've covered sensitive electrical components first to keep water away from connectors and sensors.
Is WD-40 Safe to Clean an Engine Bay?
WD-40 is a light lubricant and penetrant, not a dedicated degreaser, so it isn't the right product for cutting through grease buildup on an engine bay. A water-based degreaser formulated for automotive use will do the job more effectively and with less residue.
Is Engine Steam Cleaning Safe?
Steam cleaning can be safe when performed by a trained professional using controlled equipment and proper electrical protection, but it carries more risk than a garden-hose wash for a DIY setup, which is why it's generally best left to a pro detailer rather than attempted at home.
How Often Should I Clean My Engine Bay?
Regular cleaning a few times a year is sufficient for most daily drivers, though vehicles frequently exposed to dust, off-road conditions, or visible oil residue may need more frequent checks rather than adhering to a strict schedule.